How to Configuring RAID Using Lifecycle Controller
Prerequisite
If your system has one or more supported PERC RAID controllers with PERC 8 firmware or later, or software RAID controllers, use the RAID Configuration wizard to configure a virtual disk as the boot device.
Steps
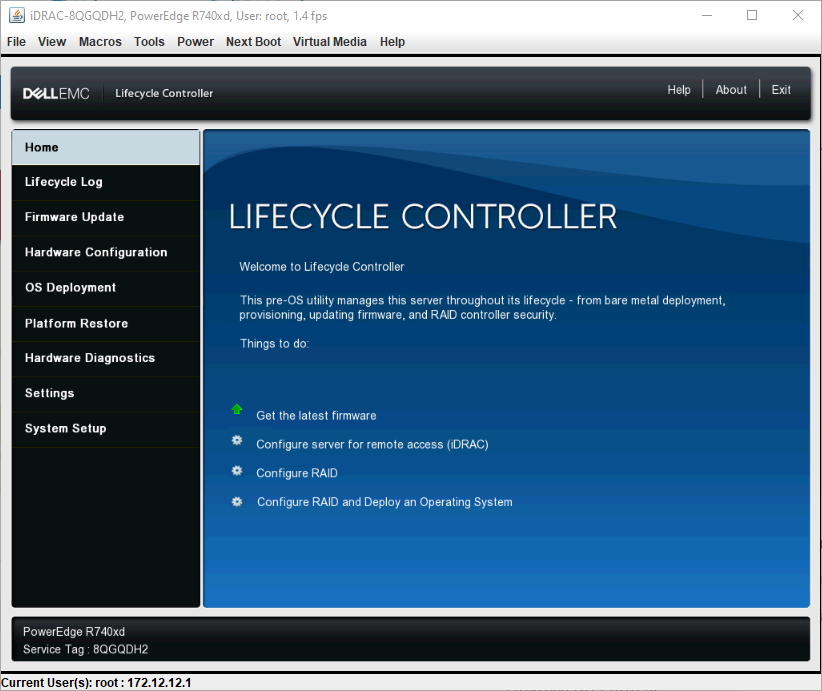
1 Launch the Lifecycle Controller home page, click Hardware Configuration, and then click Configuration Wizards. The Configuration Wizards window is displayed.
2 In Storage Configuration Wizards, click RAID Configuration.
3 Select the RAID controller to view its current virtual disk configuration and disk attributes. Click Next.
4 Select the RAID level for the virtual disk that you want to create and click Next.
5 On the Select Physical Disks screen, the default values for Protocol, Media Type, and Encryption capability are displayed.
6 Select the required physical disks that you want to include in the virtual disk, and then click Next.
7 On the Virtual Disk Attributes screen, type the virtual disk name.
NOTE: The virtual disk name should not contain any space or special characters.
8 Type the size of the physical disk. The values for Stripe Element Size, Read Policy, and Write Policy are displayed by default.
9 If you want to change the values for Stripe Element, Read Policy and Write Policy, select the required values from the respective drop-down lists. The Summary of virtual disk attributes is displayed.
10 Click Finish .
11 On the RAID Configuration Warning window, click Yes if you wish to continue with the creation of virtual disk. The RAID Configuration window is displayed.
Note that this operation might take approximately one minute to complete.
12 When the virtual disk is created successfully, the RAID Configuration Success window is displayed. Click OK. You are taken to the Hardware configuration window. Click Back to go to the home page.
13 You can verify, if the RAID operation was successful by checking the events in the Lifecycle Log.
a Click View Lifecycle Log History. The View Lifecycle Log window is displayed. Note that this operation might take few minutes.
b On the View Log History page, you can verify if the RAID operation is successful.